Thursday, July 26, 2012

Nut & Seed Biscotti


This is my favorite biscotti to make. Heidi Swanson, you're a genius. Few ingredients, few steps, a beautiful batter. About the "beautiful batter" comment. I need to explain that I was an anti-cook for most of my life. I did little of it because I didn't enjoy it. My mother never taught me how to cook (probably because she herself did not enjoy it). But it's just as well because the things I cook now and the things she cooked couldn't be further apart on the spectrum.

One of my initial eureka moments in cooking came while mixing the batter for this biscotti. This is going to be hard to explain. The batter is very simple, with nuts and seeds making up the majority of it. It looks good enough to eat raw, and it just somehow struck me that this was a beautiful creation.

I think part of it is the end result ... the eating part. It's not just that it's beautiful sitting there in the bowl in raw form, but also knowing that you're going to relish tasting and consuming it as well. And that the ingredients are healthy and therefore satifying. The worse part of this process is ... the cleanup! Thud. Back to earth.

Seriously, this is the best snack food ever. And simple to make.


First, toast the seeds and nuts:


Then mix the dry and wet ingredients separately:


Add the nuts & seeds to the dry batter. For this batch, I also threw in some dried fruit (apricots):


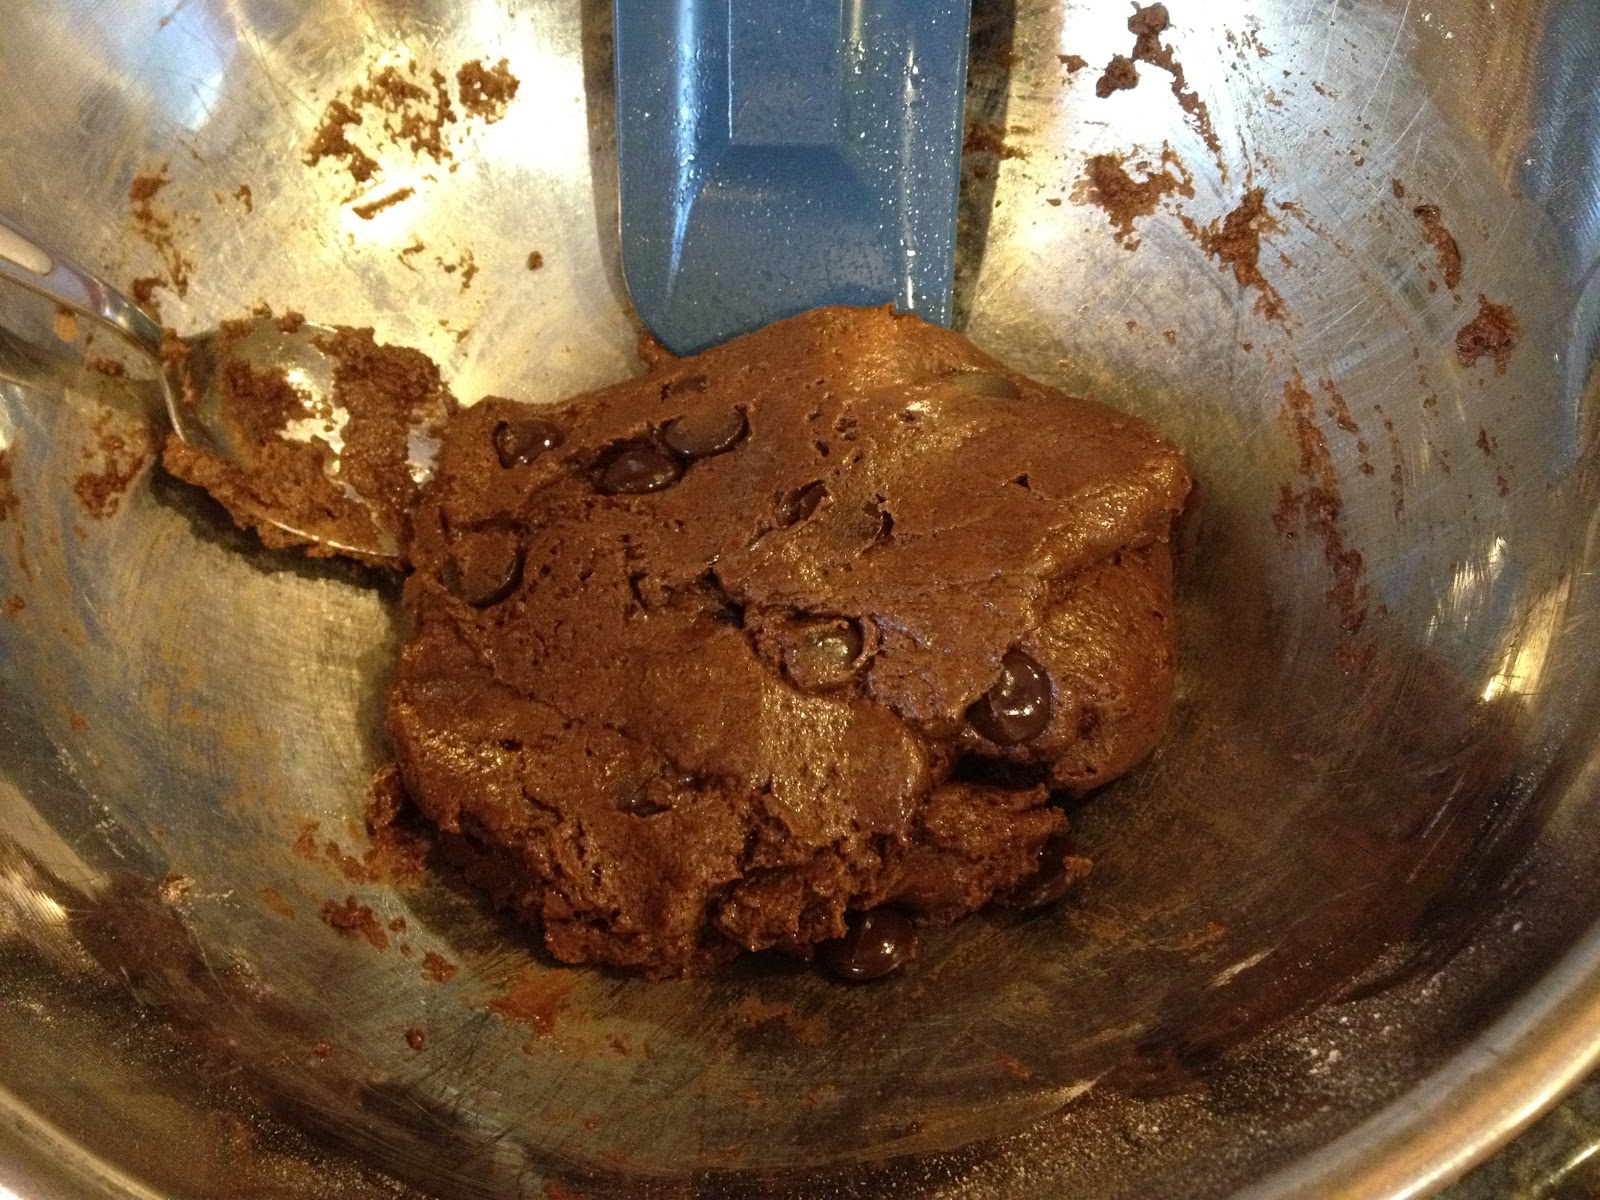
Add the dry into the wet:


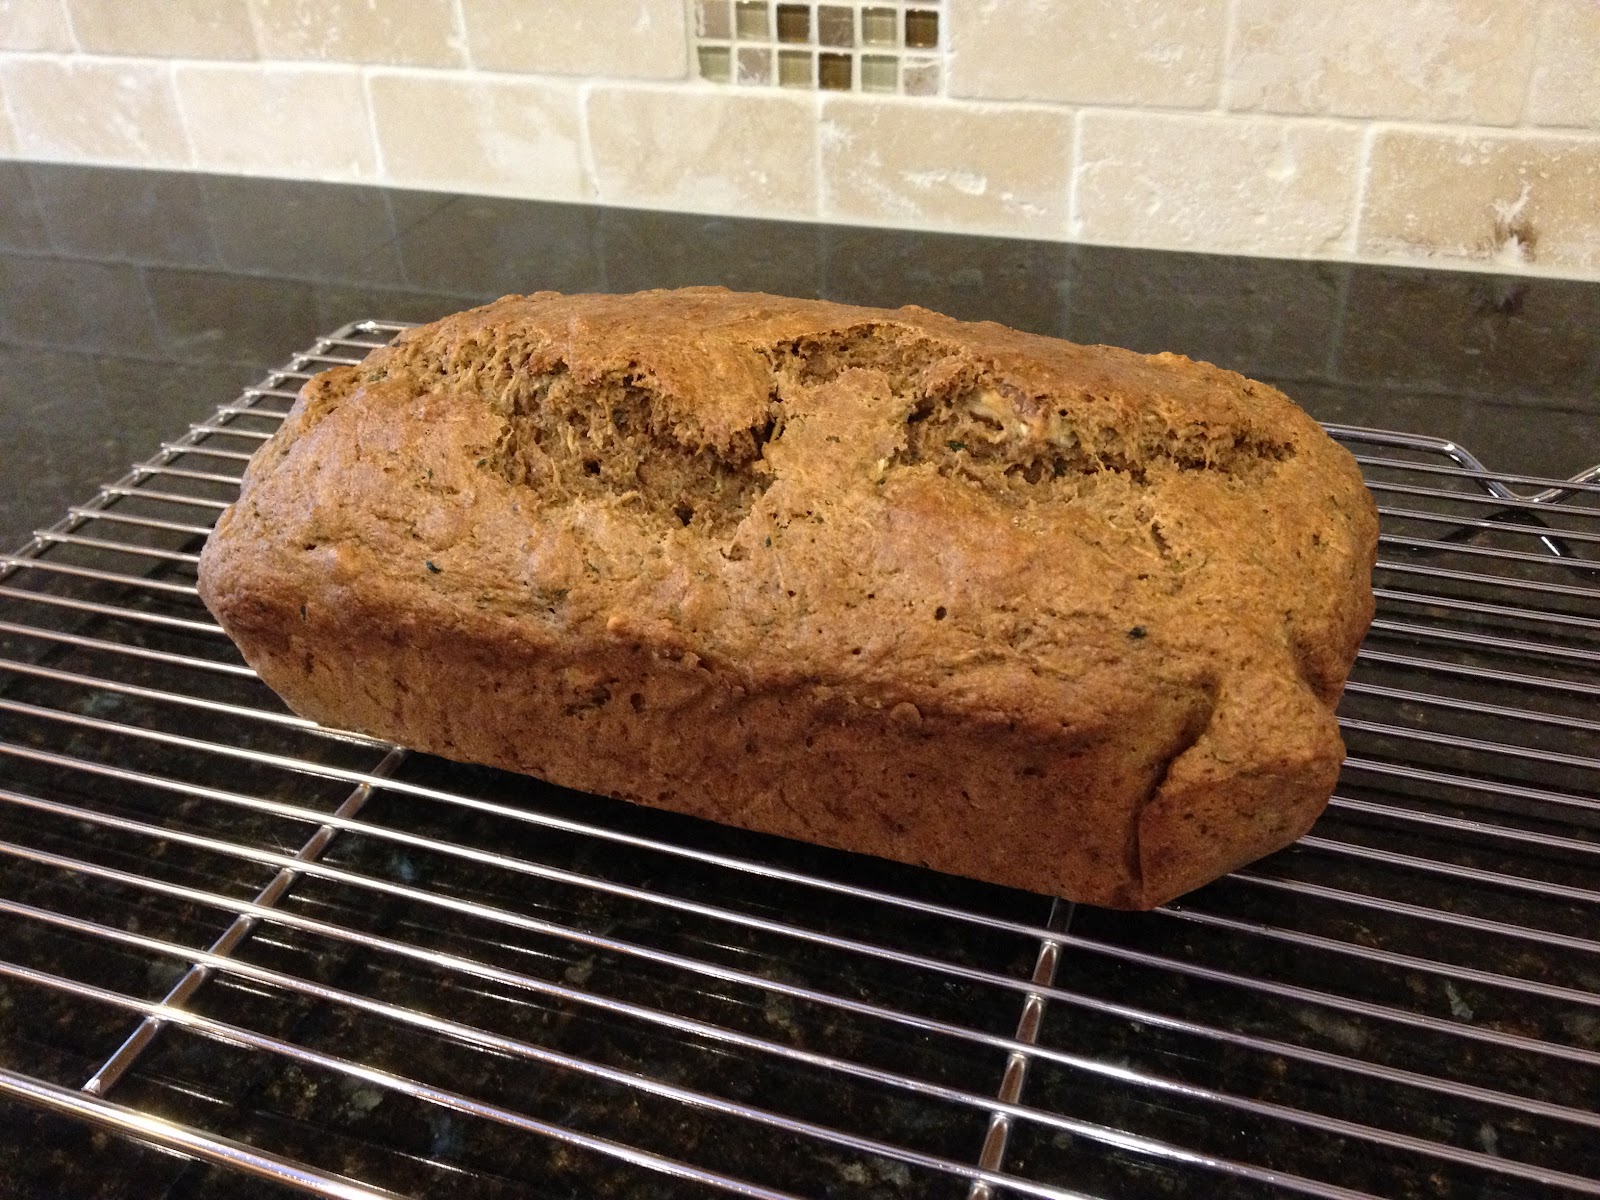
Now plop it into the loaf pan:


And smoosh it down with wet fingers:


After it bakes the first time, slice it up:


And lay the slices on a sheet pan and brush with olive oil, bake a few minutes on one side (then you'll turn them over, brush the new sides with oil and bake again):


Nut & Seed Biscotti
(from Heidi Swanson's 101cookbooks blog, slightly adapted)

1 1/3 cups white whole wheat flour
2 cups mixed nuts and seeds, lightly toasted*
1/2 tsp salt
2 large eggs
2/3 cup natural cane sugar (I use a tad less than this)
extra-virgin olive oil, for brushing slices

First, lightly toast the nuts and seeds on a baking sheet in a 350-degree oven (should take 5-8 minutes). Set aside to cool a bit.

Preheat oven to 300 degrees. Line a loaf pan with parchment paper.

Combine the flour, nuts and seeds, and salt in a medium bowl. In a separate large bowl, whisk together the eggs and sugar. Add the flour mixture to the egg mixture and stir until combined (this takes some elbow grease). Dump the mixture into the prepared loaf pan. Using wet fingers press the dough into place, making sure it's nice and compact (no air bubbles) and level on top.

Bake for about 45 minutes, or until a toothpick comes out clean. Increase the oven temp to 425 degrees after removing the loaf.

Remove the loaf from the pan/parchment paper and put it on a cutting board. Using a thin, sharp serrated knife, slice the loaf into 1/4-inch thick slices (should create about 20 or so slices). Place the slices on a baking sheet (the same one used to toast nuts/seeds will work fine) and brush the top sides lightly with the olive oil. Bake in the 425-degree oven for about 3-4 minutes. Take the sheet out of the oven, flip over the slices, and brush the other sides with the olive oil. Bake for another 4 minutes.

*I like to use 3/4 cup chopped hazelnuts, 1/4 cup chopped cashews, 1/3 cup almond slivers, 1/3 cup sunflower seeds, and 1/3 cup pumpkin seeds.
For the photos above, I used what I had left of my supplies which was: 1/4 cup chopped hazelnuts, 1/8 cup almond slivers + chopped cashews, 1/8 cup pumpkin seeds, 1/3 cup sunflower seeds, 1/3 cup chopped pecans, 1/2 cup chopped walnuts, and 1/3 chopped dried apricots.

Tuesday, July 24, 2012

Spiced Zucchini Nut Bread


What do you do with a foot-long zucchini (I wish I had taken a photo!)? Well, I shredded every bit of it and used it to make muffins and bread. The nice thing about a zucchini that large (especially diameter-wise) is that it's easy to maintain a good grip for the job of shredding.

I was torn between making a more-on-the-sweeter-side cake with cocoa powder and chips or making a bread, sans chocolate but spiced up. Maybe I'll go the cake route another day. Another day, another zucchini ...


The bread batter ... doesn't look like much here in the bowl:


It's a wet, gooey batter ... easy to work with:


And turns out nicely in the end:


Note: Lots of variations are possible with this bread, including different flours, spices, sweeteners (honey, agave, etc.), fats (olive oil, butter, etc.), nuts, and more.

Spiced Zucchini Nut Bread

1 cup spelt flour
1/2 cup whole wheat pastry flour
1/2 cup white whole wheat flour
1 tsp baking soda
1/2 tsp salt
1 1/2 tsp cinnamon
1 tsp ground ginger
1/2 tsp nutmeg
1/4 tsp allspice
1/4 tsp ground cloves

3 medium (or 2 large) eggs
1/2 cup brown sugar
1/4 cup extra virgin coconut oil, melted (or olive oil)
1/4 cup nonfat Greek yogurt
1 tsp vanilla extract
2 cups finely shredded zucchini
1/2 cup walnuts & pecans, chopped and lightly toasted

First, lightly toast the nuts in a 350-degree oven. Takes about 5 minutes or so.

Line a loaf pan with parchment paper. Keep the oven on at 350 degrees.

Mix together the flours, baking soda, salt, and spices in a medium bowl.

Whisk the eggs and sugar in a large bowl. Add the oil, yogurt, and vanilla. Then add the zucchini and nuts. (I found it much easier to incorporate the zucchini at this stage, to the wet batter, instead of in the last step.)

Add the flour mixture to the wet batter, stirring well just until incorporated.

Pour/spoon the mixture into the lined loaf pan and spread it out evenly. Bake for 40-45 minutes, until a toothpick comes out clean. (Mine took 43 minutes.) Cool in the pan for about 15 minutes, then finish cooling on a rack.


Zucchini Muffins

I used the Zucchini Muffins recipe that's in Erin McKenna's Babycakes book, the same book from which I adapted my Spelt Blueberry Muffins post. It's similar to the blueberry muffins, using spelt flour, coconut oil, and agave. But it incorporates the shredded zucchini and some spices.


OK, that's enough zucchini for one day! Time for some chocolate ...

Friday, July 20, 2012

What's an Oatcake?


It's a dense, oaty, hearty, not-too-sweet, but very tasty and satisfying muffin-like (only in its shape) little cake. They make a great mid-morning or mid-afternoon snack. And the maple syrup gives them a delicious flavor.

I make them on the smallish side since they're so dense and anything larger would be too much in one serving.

Next time I make these I'm going to try it with coconut oil only and leave out the butter ... just to see if it makes much of a difference taste-wise. Pecans, or a mix of pecans and walnuts, are also good in these. The original recipe calls for spelt flour or whole wheat pastry flour. I've made them with half spelt and half whole wheat pastry flour, which worked fine also.

The original recipe also calls for flax seeds instead of the flax seed meal I use. It's simply personal preference -- I prefer the meal consistency over tiny seeds that get stuck in my teeth!

The dry mixture:


The wet mixture ... melting coconut oil, butter, maple syrup, and sugar together:

Mixing wet with dry:


And you get oatcakes! 


Oatcakes
(ever-so-slightly adapted from Heidi Swanson's Super Natural Every Day)

Note: Some of the measurements may seem a bit odd; that's because I halved the original recipe to make 12 small oatcakes.

1 1/2 cups rolled oats
1 cup spelt flour
1/4 tsp baking powder
1 tsp salt
2 tbsp flax seed meal
1/3 cup (generous, rounded 1/3 cup) chopped walnuts, lightly toasted
3 tbsp extra virgin coconut oil
3 tbsp unsalted butter
3/8 cup maple syrup (or estimate 1/2 of 3/4 cup)
1/4 cup natural cane sugar
1 large egg, lightly beaten

First, lightly toast the walnuts (or other nuts) in a 350-degree oven (will take 5 minutes or so).

Preheat oven to 325 degrees. Oil a standard 12-cup muffin pan (with coconut oil or butter).

Mix together the oats, flour, baking powder, salt, flax seed meal, and nuts in a medium bowl.

Melt together the coconut oil, butter, maple syrup, and sugar over low heat on the stovetop in a medium saucepan. Stir until the butter melts and the sugar has dissolved, not letting the mixture get too hot.

Pour the coconut oil mixture over the oat mixture and mix. Then add the lightly beaten egg and stir until well combined. Divide the mixture into the oiled muffin pan.

Bake for 25 to 30 minutes (my oven takes 27 minutes), until the edges are deeply golden. Let cool in the pan for a few minutes, then run a knife around the edges and lift out onto a cooling rack.


Thursday, July 19, 2012

Arctic Char and Roasted Potatoes for Dinner


For a change from all the desserts, here's a quick dinner post. No, it's not salmon. It's a fish that's described as a cross between salmon and trout. It's Arctic Char. And all you salmon-haters will love it. It seems that people either love salmon or hate it. I, for one, love it ... but I will eat pretty much anything that's from the sea. (Although I've given up lobster for moral reasons -- for further info, just read David Foster Wallace's Consider the Lobster.)

The keys to cooking a restaurant-quality fish dish at home are -- no surprise here -- buying the best piece of fish you can and not over-cooking it. Those two things really do make all the difference. I've learned about both the hard way.

Another key for me is to keep it simple. I buy the best quality fish available here in little ol' Charlotte, North Carolina, (shout-out to Clean Catch Fish Market) and then I usually cook it very simply.

A little butter, a little olive oil, some fresh sage leaves thrown in, salt & pepper on both sides, and that's it. On the stovetop in a non-stick frying pan, a little pan-searing, and this other thing I do. It's totally unrefined and uncouth, but since I'm a total amateur and still have an awful lot to learn about cooking, I kind of recreate the roasting/baking atmosphere of an oven by putting a lid on the pan for a good portion of the cooking time.

I like keeping it on the stovetop where I can keep a close watch. I know if I were to put it in the oven, I would be opening the door and checking on it every 30 seconds -- and heating up the already-hot kitchen -- and prolonging the whole process.

And I've finally learned to take it off the heat BEFORE it has fully cooked throughout. When it still looks a bit raw on the inside, off it goes. It'll continue to cook for a few more minutes off the heat.

This Arctic Char was buttery, melt-in-the-mouth soft in texture and so delicious.

The potatoes were very colorful (purple and pink) little potatoes that I got at the local farmer's market. The general rule is the more color, the better, nutrition-wise and usually flavor-wise. Although I gave hubby quite a scare when he saw them go into the oven (un-white potatoes?!?). He was skeptical, but pleasantly surprised. He cleaned his plate. (Thanks for trusting me, hubby.)

For roasting the potatoes, I loosely followed the Mustard-Crusted Roast Potatoes recipe from Molly Stevens' All About Roasting. I tossed the chopped potatoes with a mixture of: some Dijon mustard (it won't taste mustardy), olive oil, lemon juice, minced garlic, chopped fresh rosemary, a pinch of crushed red pepper, and salt & pepper. I baked (I guess "roasted" is the proper term) them in a 400-degree oven for about 40-45 minutes.


As Brad Gilbert put it as he watched Andre Agassi and Steffi Graf hitting together on a tennis court for the first time, "Beautiful":


I wasn't lying ... pink and purple potatoes:


Life is good. Actually, the knife wasn't really needed:


Thursday, July 12, 2012

The Trouble with Truffles


... is that they're hard to make. But they don't have to be. They can be as simple as 3 ingredients. And the worse part of the process -- getting ganache all over your fingers -- turns out to be one of the best -- licking your fingers.

You can coat the ganache centers with whatever you like ... finely chopped nuts, coconut flakes, etc. I use unsweetened cocoa powder because I usually have some on hand, and the bitter/sweet contrast is nice.

Note: This is the same basic recipe as the chocolate filling in the Dark Chocolate Tartlets post that precedes this one. Sometimes I make these truffles with the left-over filling for the tartlets. It's a good way to make use of extra filling (instead of gorging on it with a big spoon).

Simple Little Truffles
This makes about 17 small truffles (about an inch in diameter).
4 ounces bittersweet chocolate (at least 60%)
1/4 cup (slightly less) heavy cream
1 tbsp brandy, bourbon, or other spirit (optional)
unsweetened cocoa powder (for coating)
Chop or otherwise break up the chocolate into small pieces and place in a heatproof bowl. Bring the cream to a simmer in a small saucepan on stove over medium-low heat, then pour over the chocolate. Stir/whisk the mixture until it's smooth, then stir in the brandy (optional).
Let it cool down a bit, then cover the bowl with plastic wrap and refrigerate for a few hours to harden.
Spread some cocoa powder in a separate shallow dish. Using a teaspoon (or other small spoon or scoop), spoon out a small glob of the hardened ganache (I shoot for about an inch or so in diameter). Roll it quickly and carefully between your fingers/hands until you have a little ball that's round enough to roll around in the cocoa powder. (The ball shapes don't have to be perfect; mine look like little asteroids.) Then roll the ball in the cocoa powder to coat.
As the ganache begins warming to room temperature, it will melt a bit on your fingers. Just keep rolling as quickly, and calmly, as possible. When the bowl is empty, lick your fingers!
Store the truffles in a covered container in the refrigerator.

Dark Chocolate Tartlets


One thing that's definitely worth living for ... at least that's how this household views it. Hands down, the tartlets have become the favorite dessert around here, as hard as I try to come up with a new winner. And I don't feel all that guilty (in fact, not at all) about indulging (in moderation -- i.e., small portion sizes) since it's not the typical 2-sticks-of-butter tart crust. The crust is just as delicious as the chocolate filling, as a tart crust should be, but the two together are a match that rivals even professional bakeries (I swear).  
This seems like a long post, but please don't think this is complicated. There are few ingredients and the steps are simple. Just some additional explanation is needed to present various options available for your chocolate pleasure.

The Crust:
All credit for the crust goes to Heidi Swanson, author of several awesome vegetarian cookbooks and of the 101cookbooks blog. The crust is from her Yogurt Tartlets recipe which can be found on her blog. She fills her crust with a yogurt filling. I got the idea to fill it with dark chocolate. I think the ingredients she combines are pure genius. I also think pairing it with chocolate was one of my better ideas (please, cooking gods, send more, many more, my way!).
In Heidi's crust recipe, she includes butter or olive oil as options for the coconut oil. I haven't tried those because I like the coconut oil so much. She also lists 2 tbsp of natural cane sugar as optional, which I've yet to include because I think it's perfect without it.

The Filling:
The ganache filling allows for a number of variations. Since I particularly like the flavor combination of coconut oil and dark chocolate, I like to use those ingredients in my filling. Hubby, on the other hand, can only take so much coconut oil (which I can understand). So I make his with heavy cream (or butter, depending on which I have on hand). I also like salt (fleur de sel) sprinkled on mine -- which also helps distinguish my tartlets from hubby's.

Size Options:
There are many options as far as the type of pan to use. For a time I was making these using 4-inch tartlet pans (with removable bottoms), and that worked just fine. But that really makes for too large a serving for one person, and splitting it in half got tiresome. So I decided to make them into smaller servings using the same dessert pan (with 2 1/4" x 2 1/4" square inserts) I've mentioned in other posts. I've even used a mini-muffin pan before to make tiny tartlets.

Storage:
Especially during the warm seasons, I store these in the refrigerator. The filling is pretty solid like a candy bar right out of the frig, but it doesn't take long to come to room temp and soften to your liking.

First, a quick cooking of the crust ingredients on the stovetop:

The crust after baking:

Mixing heavy cream with chocolate (filling Option 1):

Will it ever come together?

Yes, it will!

Microwaved choc with coconut oil added (filling Option 3) is in the bowl on the left; heavy cream/choc (filling Option 1) is in the bowl on the right:

The heavy cream filling is slightly darker (right) than the coconut oil filling:

I like mine with fleur de sel on top, but either way is equally awesome:

 
Tartlet Crust
(from Heidi Swanson's 101cookbooks.com blog)
Note: This recipe makes enough crust for six 4-inch tartlets or twelve 2 1/4" x 2 1/4" squares (dessert pan, which I used in photos above), and would probably fill a 9-inch tart pan.

1 cup whole wheat pastry flour
1/3 cup rolled oats
1/2 tsp salt
1/3 cup + 1 tbsp coconut oil (unrefined, extra virgin, unprocessed)
2 tbsp maple syrup
1/4 tsp toasted sesame oil
Preheat oven to 350 degrees. Mix together the flour, oats, and salt in a medium bowl. Melt the coconut oil over medium heat in a medium saucepan. Add the maple syrup and stir. Add the flour mixture and mix well. Cook for about 2 minutes (you'll get a bit of a toasted smell). Lastly, stir in the sesame oil and remove from heat.

Let the mixture cool a bit (enough so you can work it with your fingers). Divide the mixture into whatever pan(s) you're using and press and flatten it out in the bottoms and up the sides a bit (enough to hold the filling). Bake the crust for 10 or so minutes. The baking time will depend on the pan you're using. (It took about 10 minutes for my dessert pan. It took longer for the 4-inch tartlet pans.) It will be done when it starts to get barely golden (lightly toasted). Remove and cool completely. Refrigerate while you prepare the filling.

Dark Chocolate Filling
Note: In the photos above, I made half (6 tartlets) using Option 1 (4 ounces of chocolate + slightly-less-than 1/4 cup of heavy cream + 1 tbsp brandy), and half (6 tartlets) using Option 3 (4 ounces of chocolate + slightly-less-than 1/4 cup of melted coconut oil +1 tbsp brandy).

Option 1 (Heavy Cream):
8 ounces bittersweet chocolate (at least 60%)
1/2 cup (slightly less) heavy cream
2 tbsp brandy, bourbon, or other spirit (optional)
Chop or otherwise break up the chocolate into small pieces and place in a heatproof bowl. Bring the cream to a simmer in a small saucepan on stove over medium-low heat, then pour over the chocolate. Stir/whisk the mixture until it's smooth, then stir in the brandy.

Option 2 (Butter):
8 ounces bittersweet chocolate (at least 60%)
6 tbsp unsalted butter (use more or less, to your liking), room temperature
2 tbsp brandy, bourbon, or other spirit (optional)
Note: There are several methods out there for melting chocolate and butter together. I like the microwave oven method because it's quick and easy, but any will do.
Cut up the butter into small pieces and set aside. Chop or otherwise break up the chocolate into small pieces and place in a microwave-proof bowl. Microwave on high for 1 minute. Let sit (in microwave oven) for 4-5 minutes, then microwave again for about 20 seconds. Take out and stir. (If it's not continuing to melt as you stir, you can microwave for another 5-10 seconds.) Then add in the room-temperature butter and stir until smooth and combined. Then stir in the brandy.

Option 3 (Coconut Oil):
8 ounces bittersweet chocolate (at least 60%)
1/2 cup (slightly less) coconut oil, melted (unrefined, extra virgin, unprocessed)
2 tbsp brandy, bourbon, or other spirit (optional)
Melt the coconut oil on low heat on stovetop, then set aside. Use same method as in Option 2 to melt the chocolate. Add the coconut oil to the melted chocolate and stir to combine. Then stir in the brandy.

Putting It Together
Remove the crust from the refrigerator and while the chocolate filling is still warm and runny, spoon it into the crust(s) and spread it evenly. Sprinkle fleur de sel (or other coarse salt) on top as desired (totally optional). Cover loosely with plastic wrap and refrigerate until it hardens to your liking.


Wednesday, July 11, 2012

A Different Kind of Brownie


I'm always looking for ways to combine two favorite ingredients -- dark chocolate and coconut oil (spoiler alert: more of choc/coconut oil to come). Although the two can combine to form very decadent desserts, this brownie recipe produces a much less decadent one. The texture is more cake-like than fudgy. So if you're craving a rich, fudge-like brownie, this is not the one to make. But if you'd like to try something different (and a little bit "lighter") but still chocolaty, these brownies are a nice change.
This makes a small batch. I used a dessert pan that has 2 1/4" x 2 1/4" square inserts, and this recipe filled 10 of the inserts. It would probably do well to double the recipe to properly fill a more "normal" brownie pan.
A few ingredient notes:
Mesquite flour -- It's made from ground pods from the mesquite tree and is considered a high-protein, high-fiber, nutritious flour ... with the added benefit of having a mild smoky, chocolaty aroma. I was mainly just playing around with it here, but for it to truly make a difference in the recipe I should probably up the amount used. It can easily be left out (just replace the amount with all-purpose).
Greek yogurt -- I used it instead of applesauce which is often used in baked goods as a substitution for some of the fat. I like the slight tanginess of Greek yogurt and that it's high in protein. And, like applesauce, you really don't notice its flavor coming through.

Here is everything all mixed together in the bowl; it's a sticky, chocolaty, small-batch clump:


The mixture divided into the pan:


Finished baking; next time I'll probably use smaller chips:


A Different Kind of Brownie

Note: This recipe should be doubled if using a normal-sized brownie pan.
1/2 cup all-purpose flour
3 tbsp mesquite flour (or all-purpose flour)
1/4 cup unsweetened cocoa powder
1/2 cup brown sugar (not packed)
1 tsp baking powder
1/8 tsp baking soda
1/2 tsp salt
1/2 tsp instant espresso powder
1/4 cup coconut oil, melted (unrefined, extra virgin,  unprocessed coconut oil)
1/4 cup Greek yogurt (0% fat)
1 tbsp vanilla extract
1/4 cup hot water
1/2 cup chocolate chips
Melt the coconut oil (stovetop, low heat), then set aside to cool a bit.  Preheat oven to 325 degrees. Oil brownie pan (with coconut oil or butter).
Mix together the flour, cocoa powder, sugar, baking powder, baking soda, salt, and espresso powder in a medium bowl. Add the oil, yogurt, vanilla extract, and hot water. Stir until smooth. Fold in the chips.
Transfer the mixture to the prepared pan. Bake for 10  minutes, or until a toothpick comes out clean.